How to Install CrossBlocks: A Step-by-Step Guide
One of the biggest advantages of CrossBlocks is the speed and simplicity of installation. This guide will walk you through the process, showing you just how easy it is to build with our interlocking system.
Building with CrossBlocks is designed to be intuitive, significantly reducing the labor and time compared to traditional CHB. Follow these steps to ensure a strong, stable, and perfectly aligned wall.
Step 1: Lay the Foundation Course
Start by laying a traditional mortar bed, about 2 inches thick, on your clean and level foundation slab. Place the first course of CrossBlocks onto the mortar. This initial layer is the most important, so use a level to ensure the blocks are perfectly aligned in all directions.
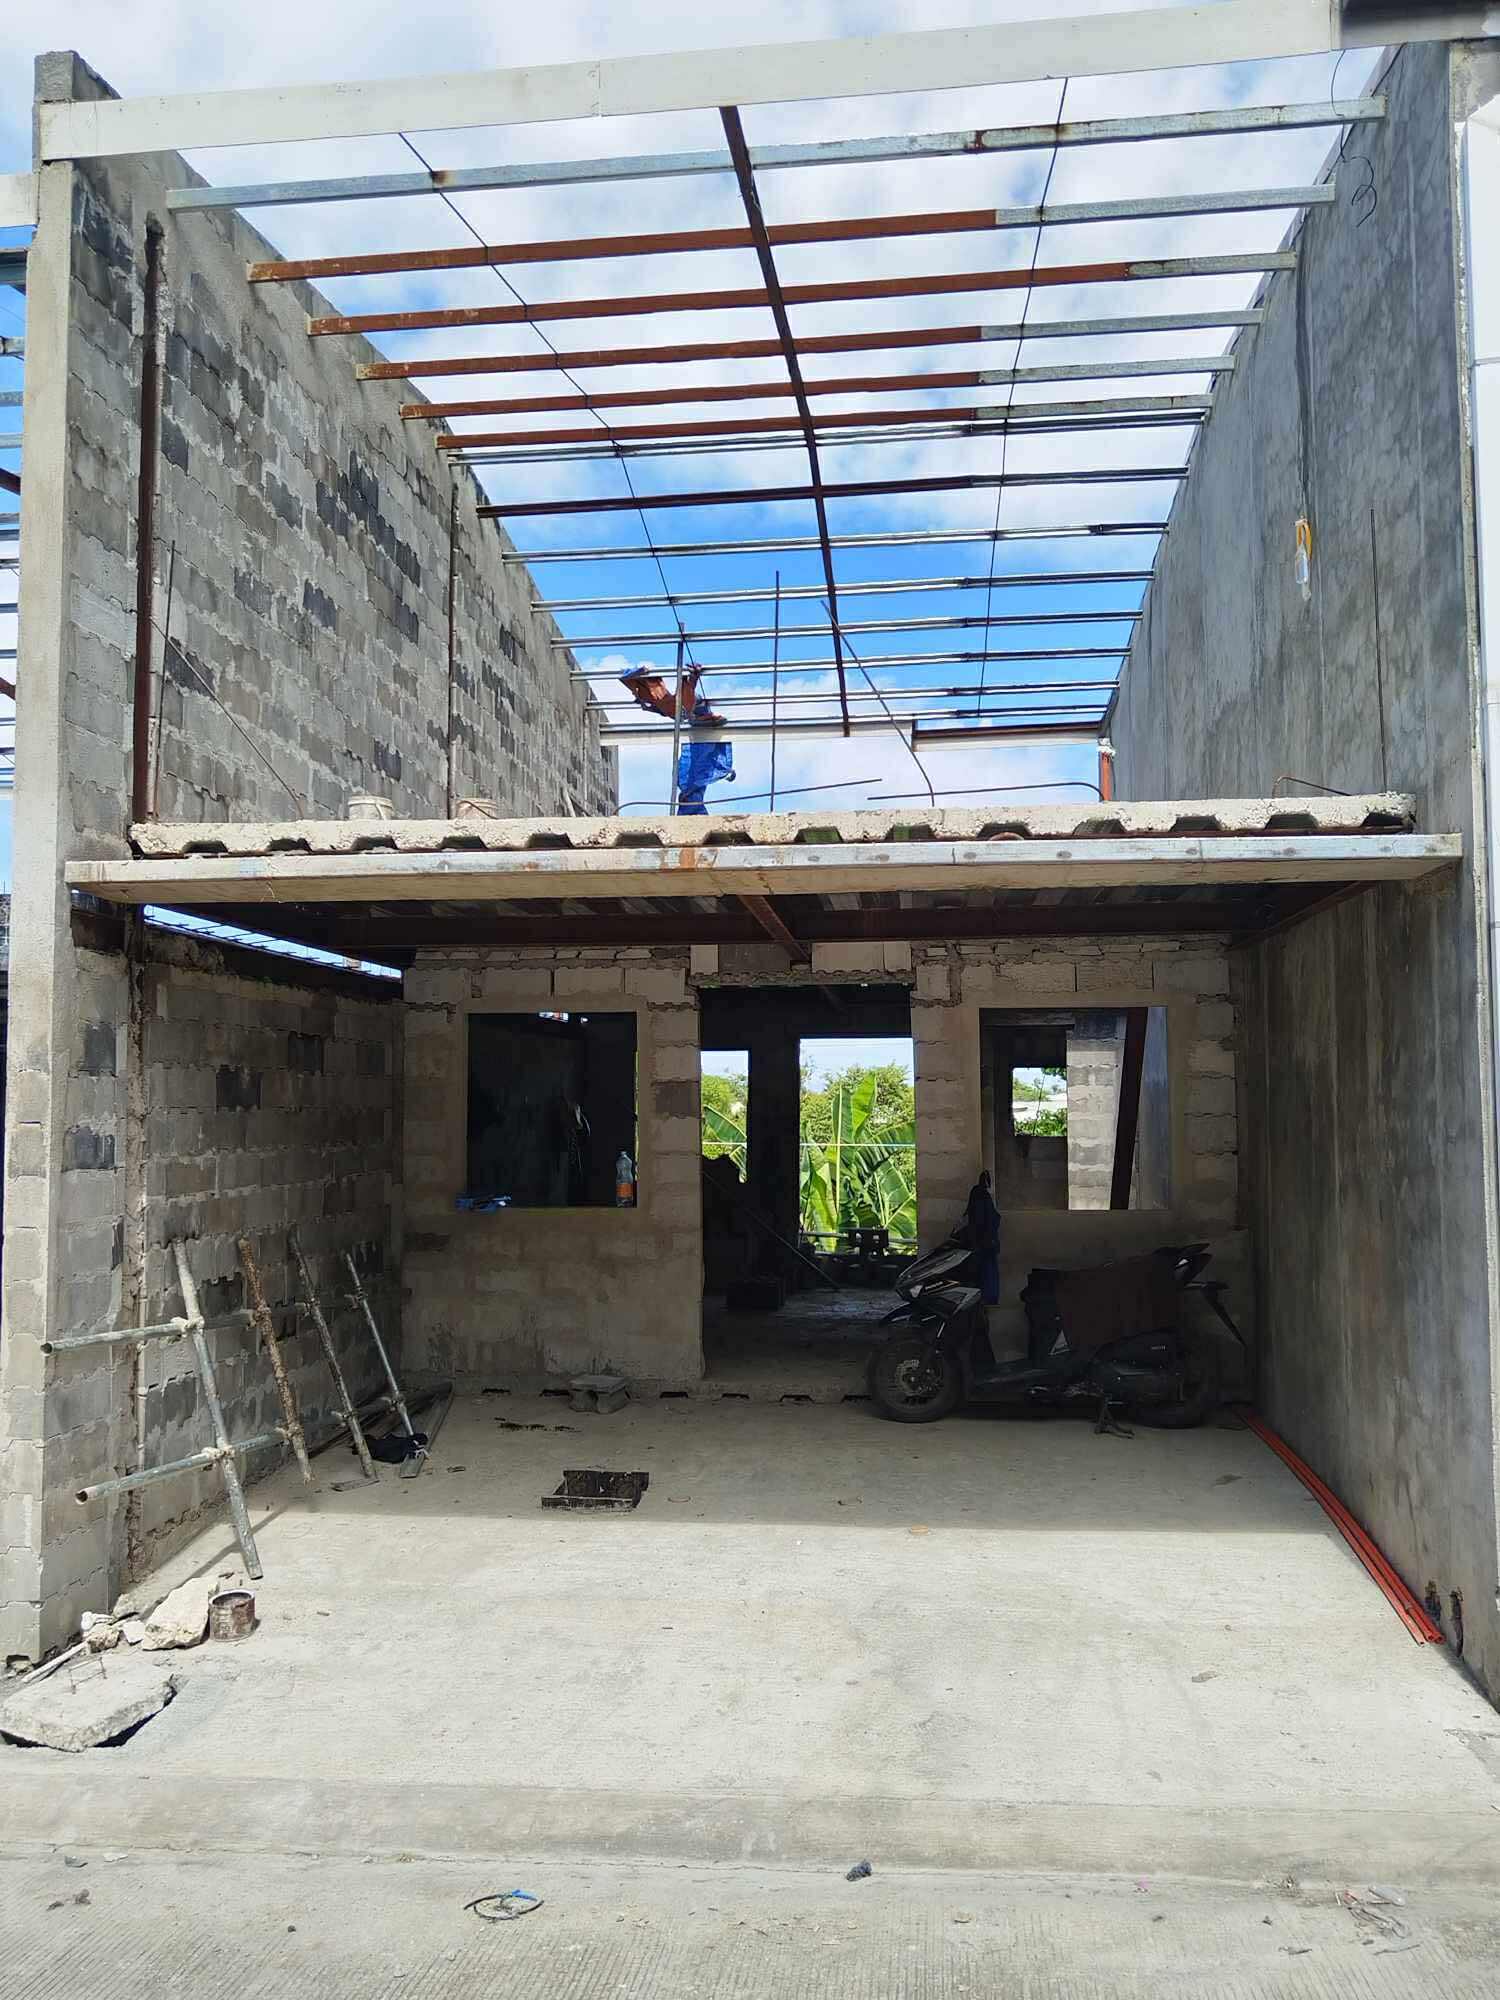
Step 2: Stacking and Cutting
Once the foundation course is set, the interlocking system makes stacking subsequent layers fast and simple. The blocks will self-align. For spaces at the end of walls or around openings, cut the blocks as needed to ensure a perfect fit.
Watch how quickly the blocks can be stacked in this short demonstration:
Step 3: Apply CrossBond Adhesive
Before laying each new block, dip its bottom and side surfaces into CrossBond Block-Laying Adhesive. This high-strength concrete adhesive ensures a powerful bond between each course, replacing the need for traditional mortar between layers.
See the CrossBond adhesive product demo:
Step 4: Reinforce and Fill the Cores
The hollow cores in CrossBlocks are designed for vertical reinforcement (rebar). Once rebars are in place, pour a flowing mortar or lean concrete mix into the hollow portions of the blocks. This creates a solid, structurally sound, and load-bearing wall.
This product demonstration shows how the rebar integrates with the blocks to form a solid, reinforced structure:
Step 5: Finishing and Painting
Your wall is now almost ready for painting. Thanks to the precision of CrossBlocks, thick plastering is not needed. To correct any minor unevenness from human error or other variables, you may choose to apply a thin plaster skim coat of around 5mm maximum. Once done, you may now paint your wall.
Conclusion: Build Better, Faster
The CrossBlocks installation process is engineered for efficiency, strength, and cost-effectiveness. By simplifying the most time-consuming parts of masonry, you can complete your projects faster, with less waste, and with a higher quality finish.
Ready to estimate your project?
Use our free calculator to see how much you can save on materials and labor.
Try Cost Calculator